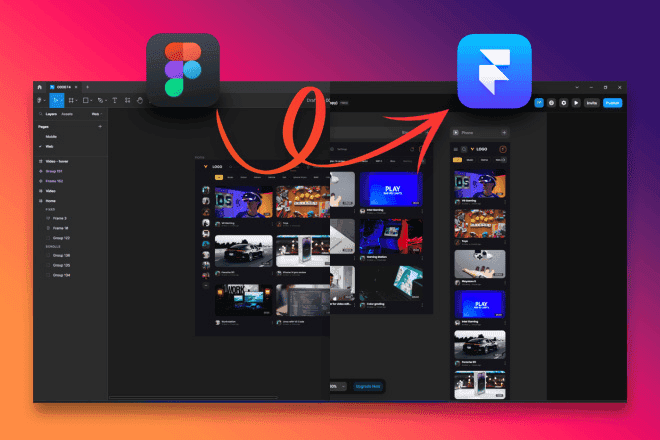
How to Go from Figma to Framer: Create a Website with Just Your Design | NO CODE
Framer Tutorials
Nov 6, 2024


Web design has never been easier, especially if you’re already familiar with Figma and want a streamlined way to turn your designs into functional websites. Using Framer, you can skip the traditional coding process and take your Figma designs straight to a live website with just a few clicks. This guide shows you how to quickly and effectively go from Figma to Framer, leveraging a free plugin to make the transition effortless. Let’s dive in!
Why Use Framer for Figma-to-Website Conversions?
If you’re a designer, web developer, or even a small business owner looking to bring designs to life online without the hassle of HTML, Framer is a powerful tool that offers a no-code approach. With its intuitive platform, Framer lets you publish directly from Figma to a responsive website, allowing you to focus on creativity instead of coding.
Step-by-Step Guide to Creating a Website from Figma to Framer
Step 1: Install the Figma Plugin for Framer Conversion
To start, install the Figma to HTML with Framer plugin. This plugin enables you to export Figma layers and elements directly into Framer.
Step 2: Copy Your Design Elements from Figma
Once the plugin is installed, select the layers you wish to convert in Figma. Run the plugin and allow it to copy all elements from your design canvas. This step captures every detail, including layers, groups, and naming structures.
Step 3: Paste Your Design into Framer
Head over to Framer and paste your copied design onto the Framer canvas. Framer’s layout tools automatically adapt your Figma design, retaining the layer structure, making it easy to continue editing from where you left off.
Step 4: Add Interactivity and Make Your Website Responsive
With your design now in Framer, start adding functionality. Here’s where Framer shines: you can add button clicks, hover effects, links, and transitions without needing to write any code. This is especially valuable for enhancing user experience.
Step 5: Optimize for Mobile and Add Animations
Framer lets you create responsive designs for multiple screen sizes. Adjust elements and add smooth animations to make your website look and feel more dynamic across all devices. This functionality is critical for creating engaging experiences, especially for mobile users.
Step 6: Publish to a Free Domain
Once your design is fully set up and optimized, it’s time to publish. Framer allows you to publish your site on a free Framer domain, or you can connect a custom domain. Framer’s optimization also ensures that your site loads quickly on mobile and desktop, following best practices for search engine rankings.
GET 3 FREE MONTHS ON FRAMER PRO
If you’re looking for more flexibility with your domain and features, Framer Pro might be the ideal upgrade for you. By choosing Framer Pro, you’ll get access to custom domains, enhanced design tools, and added control over your website’s branding. And here’s an exclusive offer: get 3 free months of Framer Pro by signing up through this link and using the code partner25proyearly at checkout. This is a great way to experience all the premium benefits Framer has to offer, helping you create an even more professional and personalized online presence.
Benefits of Using Framer for Figma-to-Website Conversion
Using Framer removes the complexity of coding by directly transforming Figma designs into HTML, CSS, and React. The plugin not only saves time but also optimizes your site for performance by minifying JavaScript and image files, giving your website a better chance to rank on Google. Plus, Framer preserves your layer names and groups, making future edits simpler and more intuitive.
Tips for Maximizing Your Figma-to-Framer Workflow
Maintain Clean Layer Naming in Figma
Good organization in Figma translates to easier adjustments in Framer. Make sure your layers are named descriptively.
Use Framer’s Academy Tutorials for Extra Tips
If you’re new to Framer or need a refresher, check out Framer’s Academy tutorials for step-by-step guides.
Experiment with Framer’s Free SaaS UI Kit
Looking to create a professional design? Framer’s free SaaS UI kit is fully compatible with Figma, making it a great resource for additional design elements.
With these steps, you’re ready to transform any Figma project into a functional Framer website without writing a single line of code.
And if you’re ready to take your design to the next level, Aquila Design is here to help. Reach out to us today to see how we can transform your project!
Behind the frames
My name is Agustin, but people call me Acu. I'm the designer & developer, who you’ll actually be working with. I started Aquila to help service-based businesses show up online with clarity and confidence.


You’ve worked hard to build your business
— Serving clients, perfecting your craft, and growing your reputation.
But now it’s time for
a website that works as hard as you do.
Send a Quick Message